- Published on
Deactivate Shipping Carrier Service
- Author
- Name
- Giang
There comes the time when a contract between you and the delivery agency expired or you no longer work with them and you still offer their services to your customers at the checkout, this may lead to some serious troubles. To fix this issue, remember to deactivate a shipping carrier service after it expired.
This is a writing which gives you the detailed guide on how to deactivate a shipping carrier service on Shopify. I hope this writing will be helpful for you while managing your store.
Related Posts:
- How to Activate a Custom Fulfillment Service on Shopify
- How to Activate an On-Demand Delivery Service
- How to Deactivate an On-Demand Delivery Service
- How to Add a Calculated Shipping Rate on Shopify
- Adjust Calculated Rates on Shopify: How to Do It Right
How to deactivate a shipping carrier service
- Step 1: Go to Settings > Shipping
- Step 2: Go to Manage carriers
- Step 3: Deactivate shipping carrier service
- Step 4: Confirm the deactivation
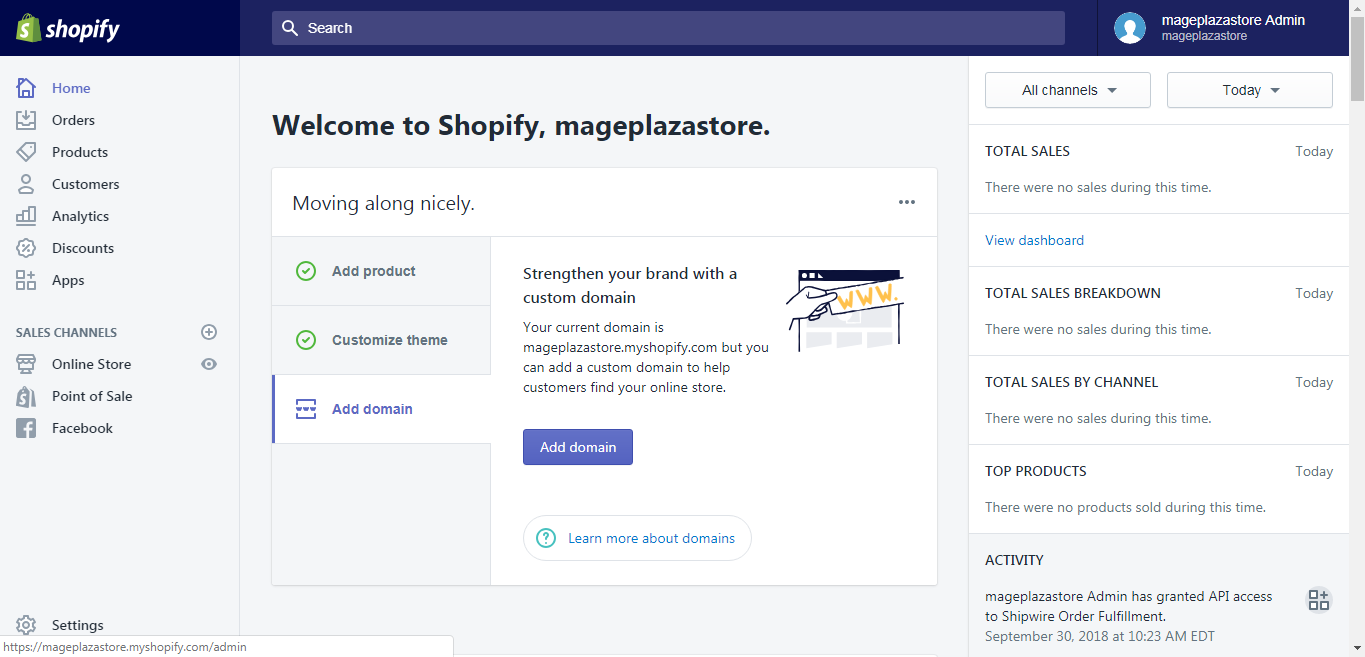
Step 1: Go to Settings > Shipping
After you logged into your Shopify account, take a look at the bottom of the admin screen, you can see there is a button called Settings with the gear sign next to it. Click on Settings.
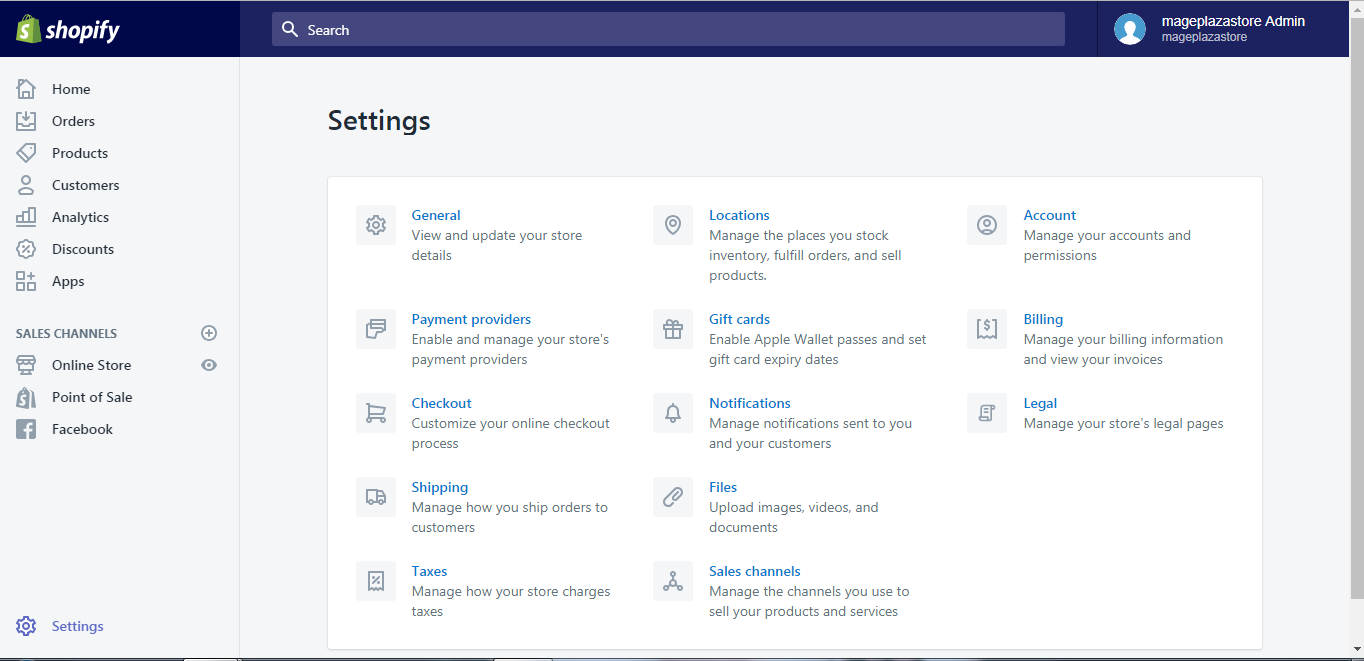
There are a lot of choices on the Settings page, however, for our purpose, please hit Shipping.
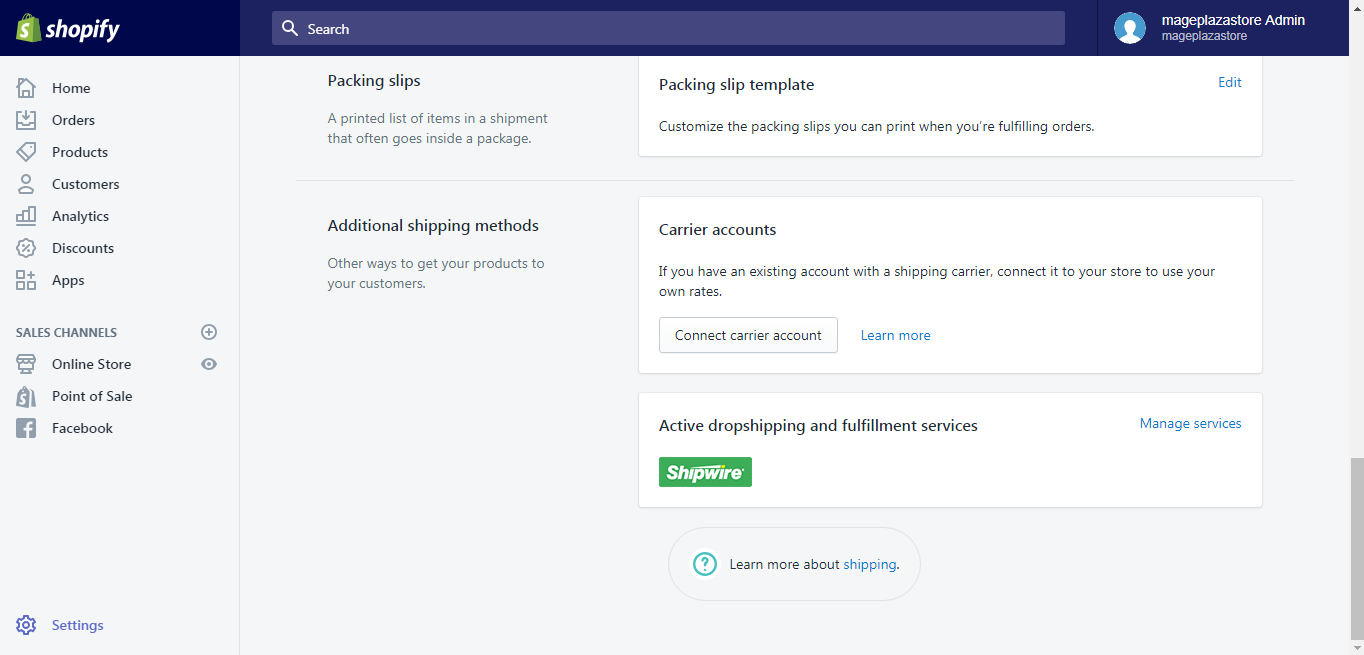
Step 2: Go to Manage carriers
After you get to the shipping page, scroll down to find the Additional shipping methods area. Form this area you can see the Carrier accounts section, click Manage carriers.
Step 3: Deactivate shipping carrier service
After the previous step, in order to disable an account, click on the Disconnect account next to the carriers you want to deactivate.
Step 4: Confirm the deactivation
From the new dialog that appears, click on the Disconnect account button to confirm your deactivation.
To deactivate a shipping carrier service on iPhone (Click here)
-
Step 1: Go to Store > Settings
After you logged in your Shopify account in the app, notice there is a
Storebutton, click on it.
In the Store screen, there is a button called
Settings, tap on it.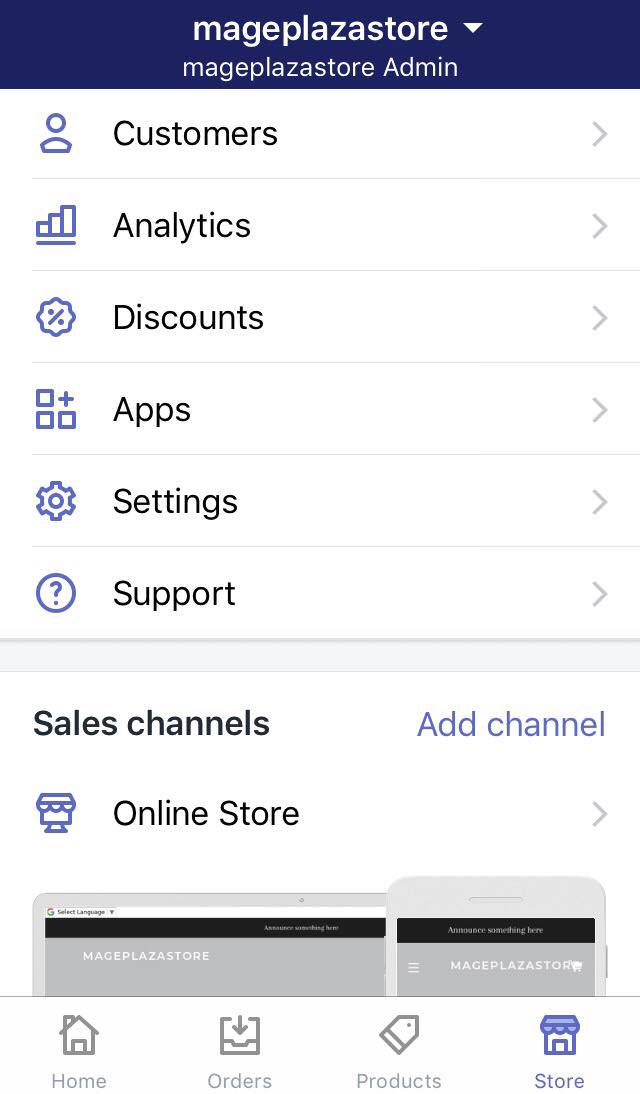
-
Step 2: Go to Shipping
After the previous step, you should find and tap the
Shippingbutton in the Store setting area.
-
Step 3: Go to Manage carriers
After you get to the shipping page, scroll down to find the
Additional shipping methodsarea. Form this area you can see the Carrier accounts section, clickManage carriers. -
Step 4: Disconnect the account
After the previous step, in order to disable an account, click on the
Disconnect accountnext to the carriers you want to deactivate. -
Step 5: Confirm the deactivation
From the new dialog that appears, click on the
Disconnect accountbutton to confirm your deactivation.
To deactivate a shipping carrier service on Android (Click here)
-
Step 1: Go to Store > Settings
After you logged in your Shopify account in the app, notice there is a
Storebutton, click on it.In the Store screen, there is a button called
Settings, tap on it. -
Step 2: Go to Shipping
After the previous step, you should find and tap the
Shippingbutton in the Store setting area. -
Step 3: Go to Manage carriers
After you get to the shipping page, scroll down to find the
Additional shipping methodsarea. Form this area you can see the Carrier accounts section, clickManage carriers. -
Step 4: Disconnect the account
After the previous step, in order to disable an account, click on the
Disconnect accountnext to the carriers you want to deactivate. -
Step 5: Confirm the deactivation
From the new dialog that appears, click on the
Disconnect accountbutton to confirm your deactivation.
Conclusion
Above is a brief instruction on how to deactivate a shipping carrier service on Shopify. I hope this short tutorial will provide you with a basic background on managing the shipping services.